Install the Server
To install the Reveille 8 User Analytics software, complete the following steps:
- Log on to Windows Server (natively) or through Windows Remote Desktop with a local account having local administration rights. Do not use Windows Terminal Services since it does not provide true local administration rights.
- Download the software using the download links in the Reveille license email message. Extract the software using the passwords provided in email message. See Contacting support for more information.
- Determine the settings that will be used for the Reveille User Analytics web server. Reveille uses the locally installed Internet Information Server (IIS) server.
- Web site name, port, and site number — You can choose to use the default IIS settings (default web server and site name on port 80 ) or you can set these values.
- Web server application pool identity — You must set the Windows username (domain\username if using a Windows domain account) and password that will be used to run the application pool. This enables the Reveille Web Site to have full access to the local Reveille server file system.
- Determine the settings that will be used for the database. You may need to check with your database administrator (DBA) for assistance.
- Database type: SQL Server, SQL Server express, or Oracle.
NoteThe server must support mixed mode authentication in order to create the database.
- Name of the database server.
- Database account (username and password) that has permissions to read and write to the Reveille User Analytics database
- ODBC data source, database, and table. You can choose to create these resources or use existing ones. If you choose to create new resources, you can also set the primary database name (default: Reveille_Transaction). You may also need to set the ODBC data source name and a database account that can access the data source.
- Database collation (for SQL Server and SQL Express only), which should not be changed unless instructed by your DBA and validated with Reveille Support (default: US English case insensitive).
- Whether to store the Packet Data table and Protocol database in the primary database. If you expect to collect a large amount of packet and protocol data , plan to create a separate database for it.
- Database type: SQL Server, SQL Server express, or Oracle.
- Ensure that all requirements are met as documented in System Requirements.
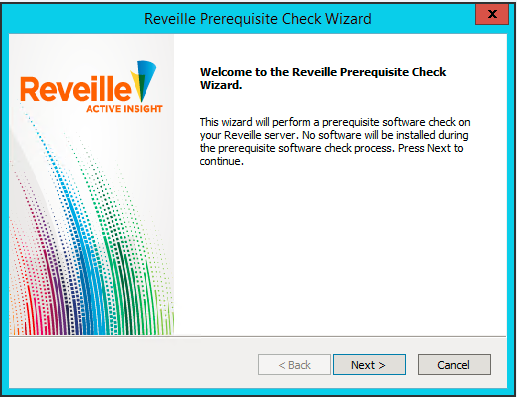
You can run the prerequisite check wizard to make sure the server software requirements have been met:
- Double-click ReveillePreReqCheck.exe. The Prerequisite Check Wizard is displayed:
- Click Next. The following is displayed:
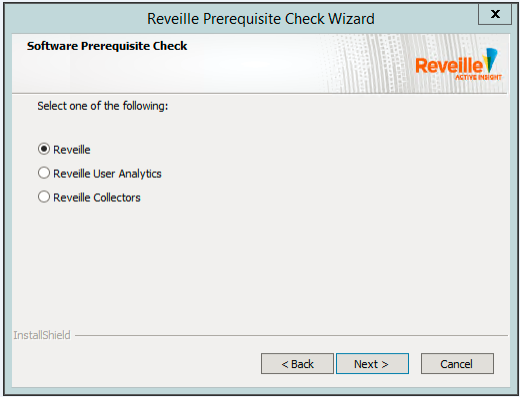
- Select the product you plan to install and then click Next.
The wizard checks the system to verify that all minimum requirements are met. If a requirement is not met, a REQUIRED message is listed that indicates a missing required software component.
- Make note of or resolve the warnings and then click Next.
- Click Finish to close the wizard.
- Rerun the wizard after installing any missing required software components.
- Double-click ReveillePreReqCheck.exe. The Prerequisite Check Wizard is displayed:
- Verify the following Reveille server operations:
- For IIS 7.x /8.x/10.x:
Verify that the handler mappings for ASPX (ASP.NET) extensions are enabled. - Within the local Reveille Server browser, verify that ‘localhost’ displays the default IIS web page.
- Using the Windows command line, enter this command:
Telnet <SMTP Server name> 25The SMTP service should respond. This is required for e-mail notification to work correctly.
- For IIS 7.x /8.x/10.x:
- Obtain the Reveille Application and Protocol Corporate Keys and License Codes from Reveille Software Technical Support. See Contacting support for more information.
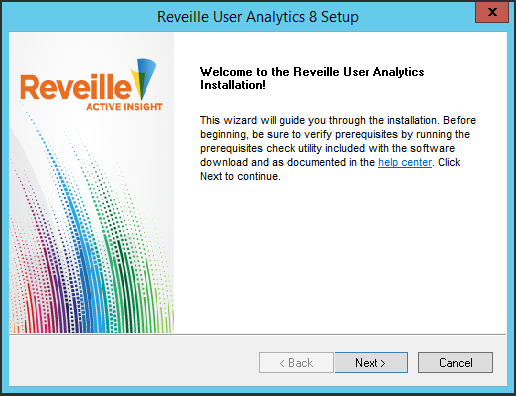
- Install Reveille 8 User Analytics:
- Double-click ReveilleUserAnalytics8Install.exe in the Reveille installation software directory. The Reveille Welcome window is displayed.
- Click Next. The Reveille Software License Agreement window is displayed.
- Read the license agreement and click Yes to agree to the license terms. The Product Registration Information window is displayed.
- Copy and paste the key and code into the Corporate Key and License Code fields, and provide an email address. Then, click Next. The Installation Preference window is displayed.
- Select your desired installation method:
- Default – Installs User Analytics using common defaults:
- Destination folder: Drive:\Program Files\ReveilleSoftware\Reveille
- Web site name: Reveille Web Site
- Web site port: 81
- Web site number: 100
- Advanced – Enables you to choose settings for these installation options.
Choose an option and then click Next.
- Default – Installs User Analytics using common defaults:
- Complete the installation by answering prompts provided by the wizard.
- When you are notified the installation is complete, click Finish.
- Double-click ReveilleUserAnalytics8Install.exe in the Reveille installation software directory. The Reveille Welcome window is displayed.
Was this helpful?
Please tell us why:
Thank you.